Built by digistump, Digispark is a tiny Arduino compatible board with an Attiny85 in its heart. It comes with a preloaded bootloader, so you are good to go as soon as the package arrives and you solder the headers.
Before you start with programming the Digispark, you must ensure that you have the appropriate Arduino package or download from the Arduino.cc website: https://www.arduino.cc/en/Main/Software
If using Arduino 1.6.6 or higher on windows - you will need to download and install the drivers manually. Download, unzip and run “Install Drivers” (on 32bit systems) or “DPInst64” (on 64bit systems). If you get stuck, try following the steps shown in this YouTube video. The driver files are located here: https://github.com/digistump/DigistumpArduino/releases/download/1.6.7/Digistump.Drivers.zip
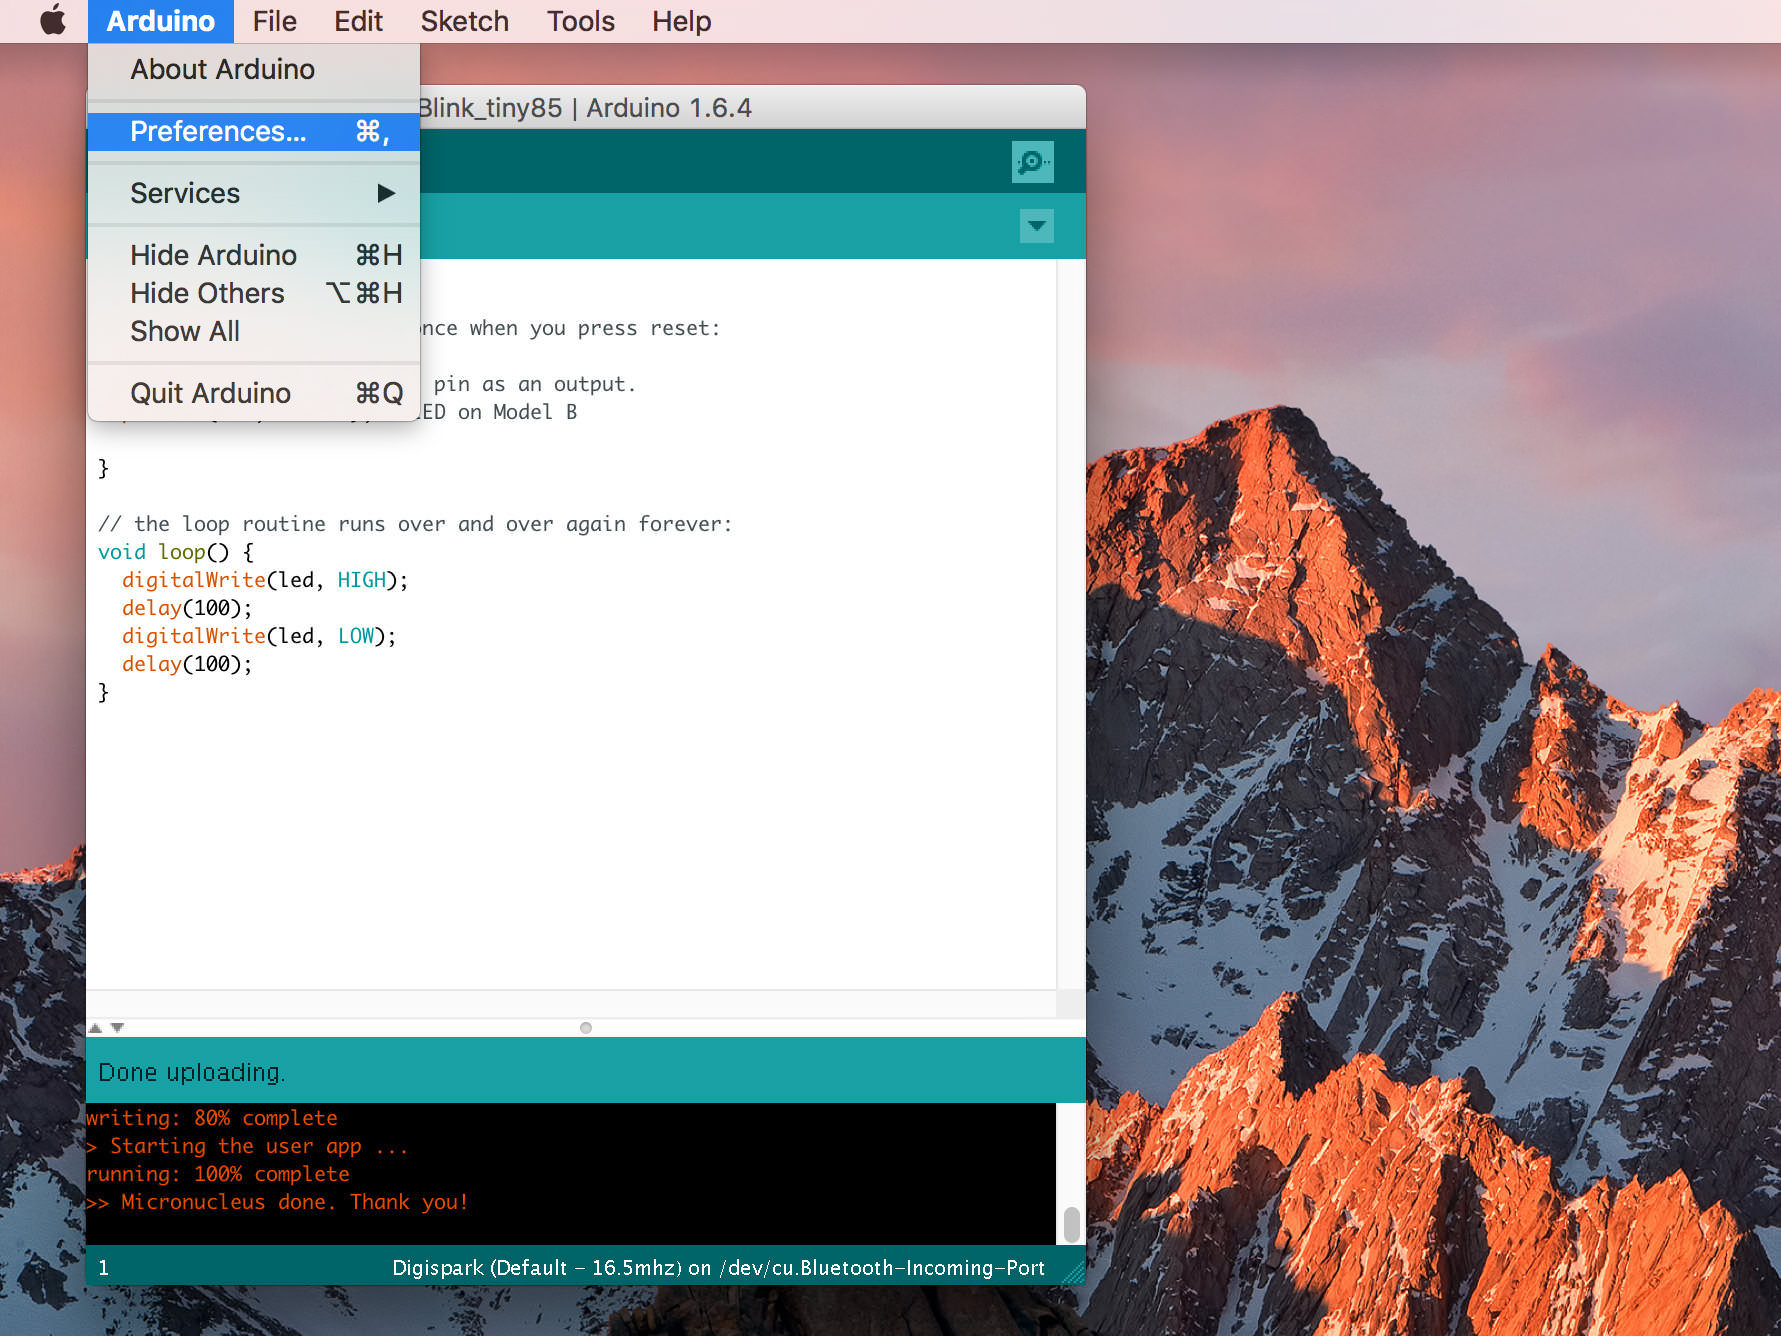
After you’ve installed the Arduino application, go ahead and open the Preferences dialog box.
In the box labeled “Additional Boards Manager URLs” enter:
http://digistump.com/package_digistump_index.json
Next, go to the “Tools” menu and then the “Board” submenu - select “Boards Manager” and then from the type drop down select “Contributed”. Then select the “Digistump AVR Boards” package and click the “Install” button.
You’ll see the download progress on the bottom bar of the “Boards Manager” window, when complete it will show “Installed” next to that item on the list.
If you’re a Windows user, you’ll see a Driver Install Wizard window after the installation is complete, please click “Next” on this Window to install the drivers for Digistump Boards (If you already have them installed, this installer will update them and install any that are missing). With the install complete, close the “Boards Manager” window and select the Digispark from the Tools→Boards menu. “Digispark (Default - 16.5mhz)” is the board that should be selected by all new users.
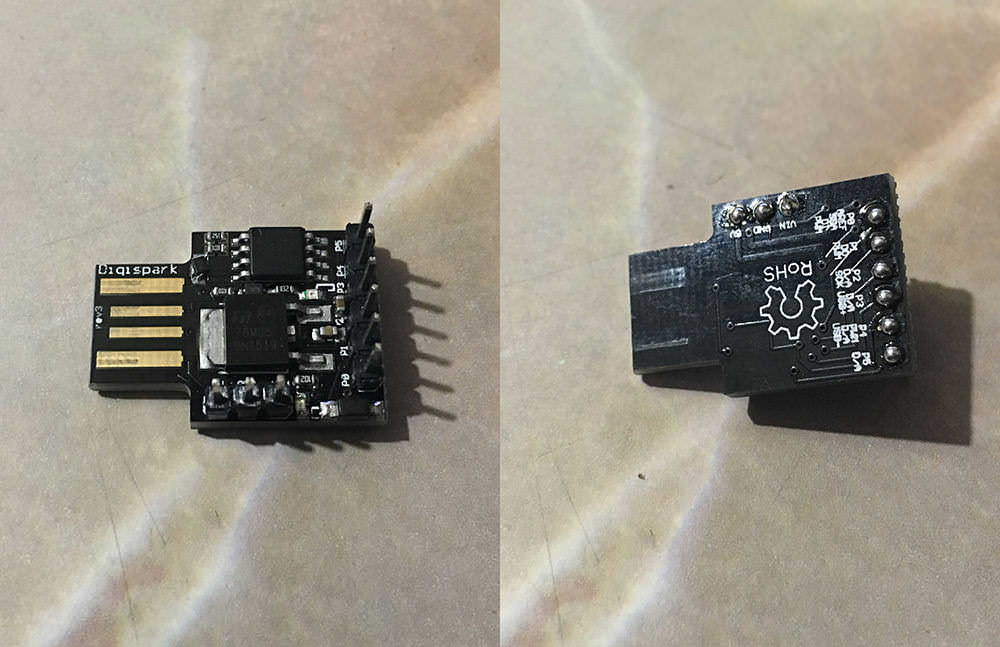
Now that you have successfull installed the required software, it’s time that you know a little about the board itself. Following is the pinouts of the boards provided by Fritzing. All pins of a Digispark can be used as Digital I/O pins.
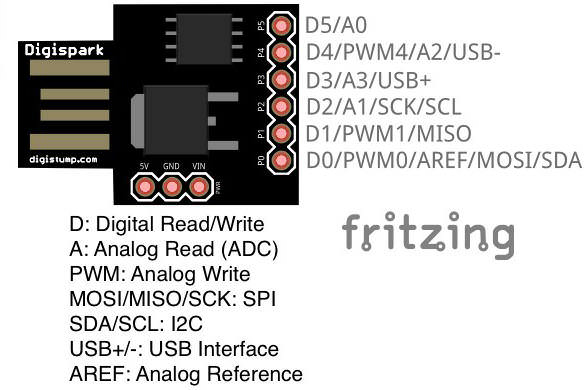
Look at the above image carefully, and once you’ve memorised all the pins, it’s time to write your first code. The old Blink code. Open Arduino and paste in the following code:
/*
  Blink
  Blinks the onboard LED
  By Upamanyu Das 2017-02-06
  Updated: 2014-11-24

  Uses ATtiny85

*/

int led = 0; //For model B
int led = 1; //For model A

// the setup routine runs once when you press reset:
void setup() {
  // initialize the digital pin as an output.
  pinMode(led, OUTPUT);

}

// the loop routine runs over and over again forever:
void loop() {
  digitalWrite(led, HIGH);
  delay(100);
  digitalWrite(led, LOW);
  delay(100);
}
Programming the Digispark
- The Digispark works a bit differently than some Arduino compatible products. The Digispark programs with a different procedure.
- From the Tools menu select Board→Digispark (Default - 16.5Mhz)
- (The Tools→Programmer selection does not matter)
- You do not need to plug in your Digispark before invoking upload.
- Hit the upload button. The bottom status box will now ask you to plug in your Digispark - at this point you need to plug it in - or unplug and replug it.
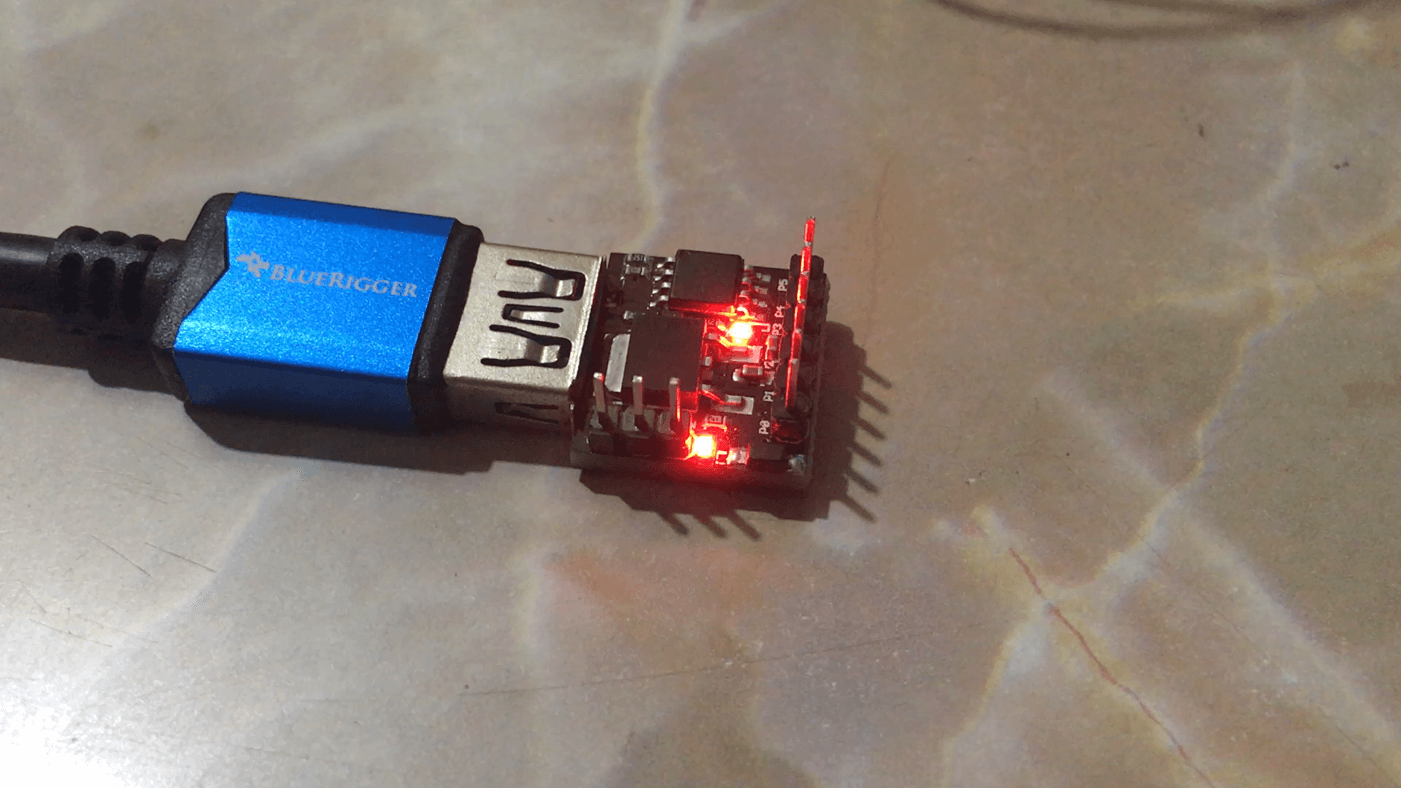
And that’s it, you’re done with building your first prograpm on Digispark. The following GIF shows the end result.